
Flatsome is one of the most popular and powerful WordPress themes today thanks to its drag and drop UX Builder is extremely intuitive. With Flatsome, editing pages like Home Page, About Page, or Service Page is easier than ever without knowing a single line of code.
This article will guide you step by step in detail how to manage, manually change text, images, banners and how to handle problems during the editing process.
1. Important notes before starting
Before going into details, you need to clearly distinguish two concepts on the website:
- Trang (Pages): Are fixed pages such as Home, About, Services, Contact… These are the pages where we will use the tool UX Builder for corrections in this article.
- Articles (Blog/News) & Products (Products): These items already have a sample interface frame, you just need to enter data according to the form and do not edit with UX Builder this way.
2. How to access the UX Builder editing interface
To start editing, follow these steps:
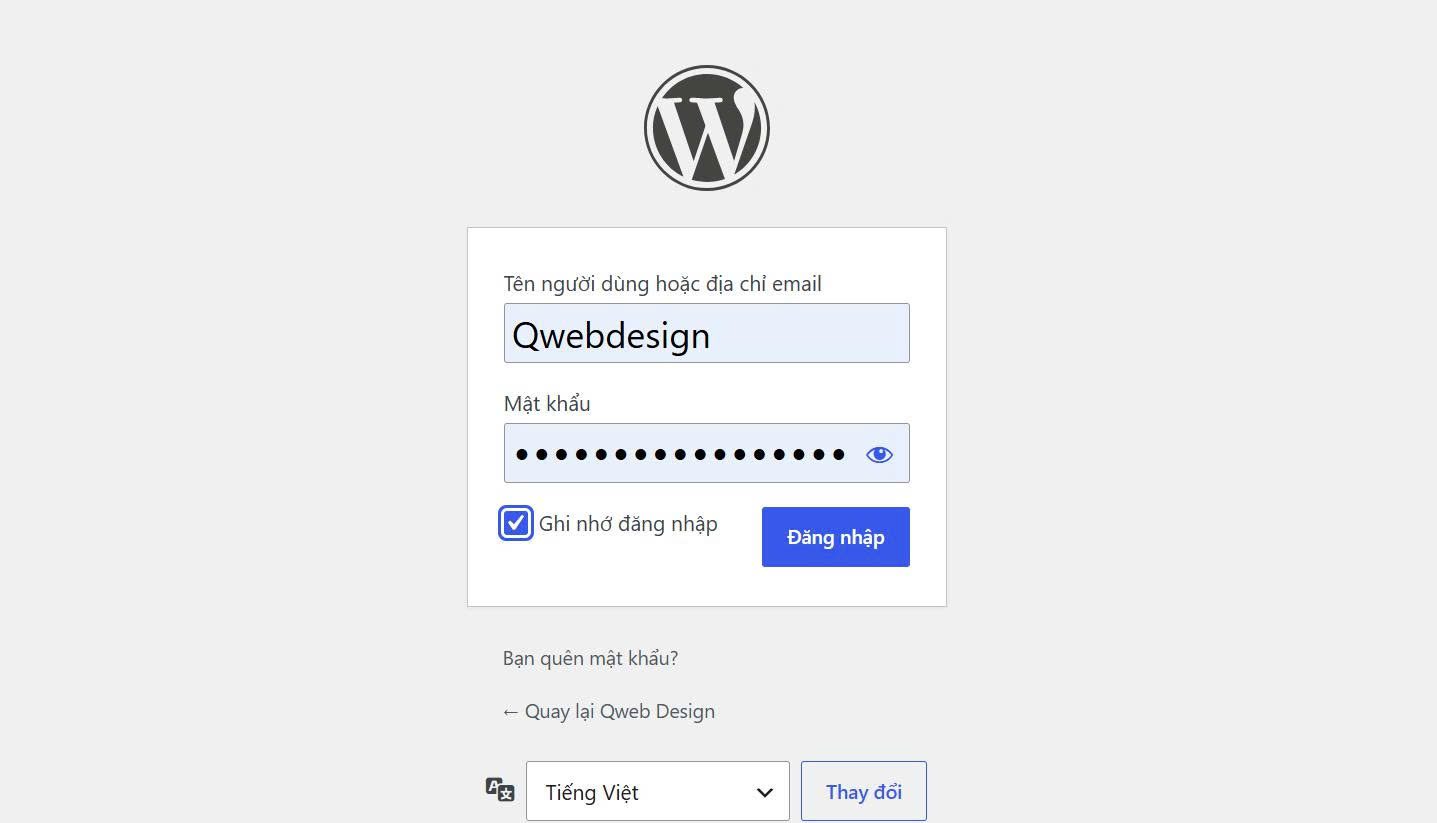
Step 1: Log in to the WordPress admin link (URL and account will be provided by the website delivery party).
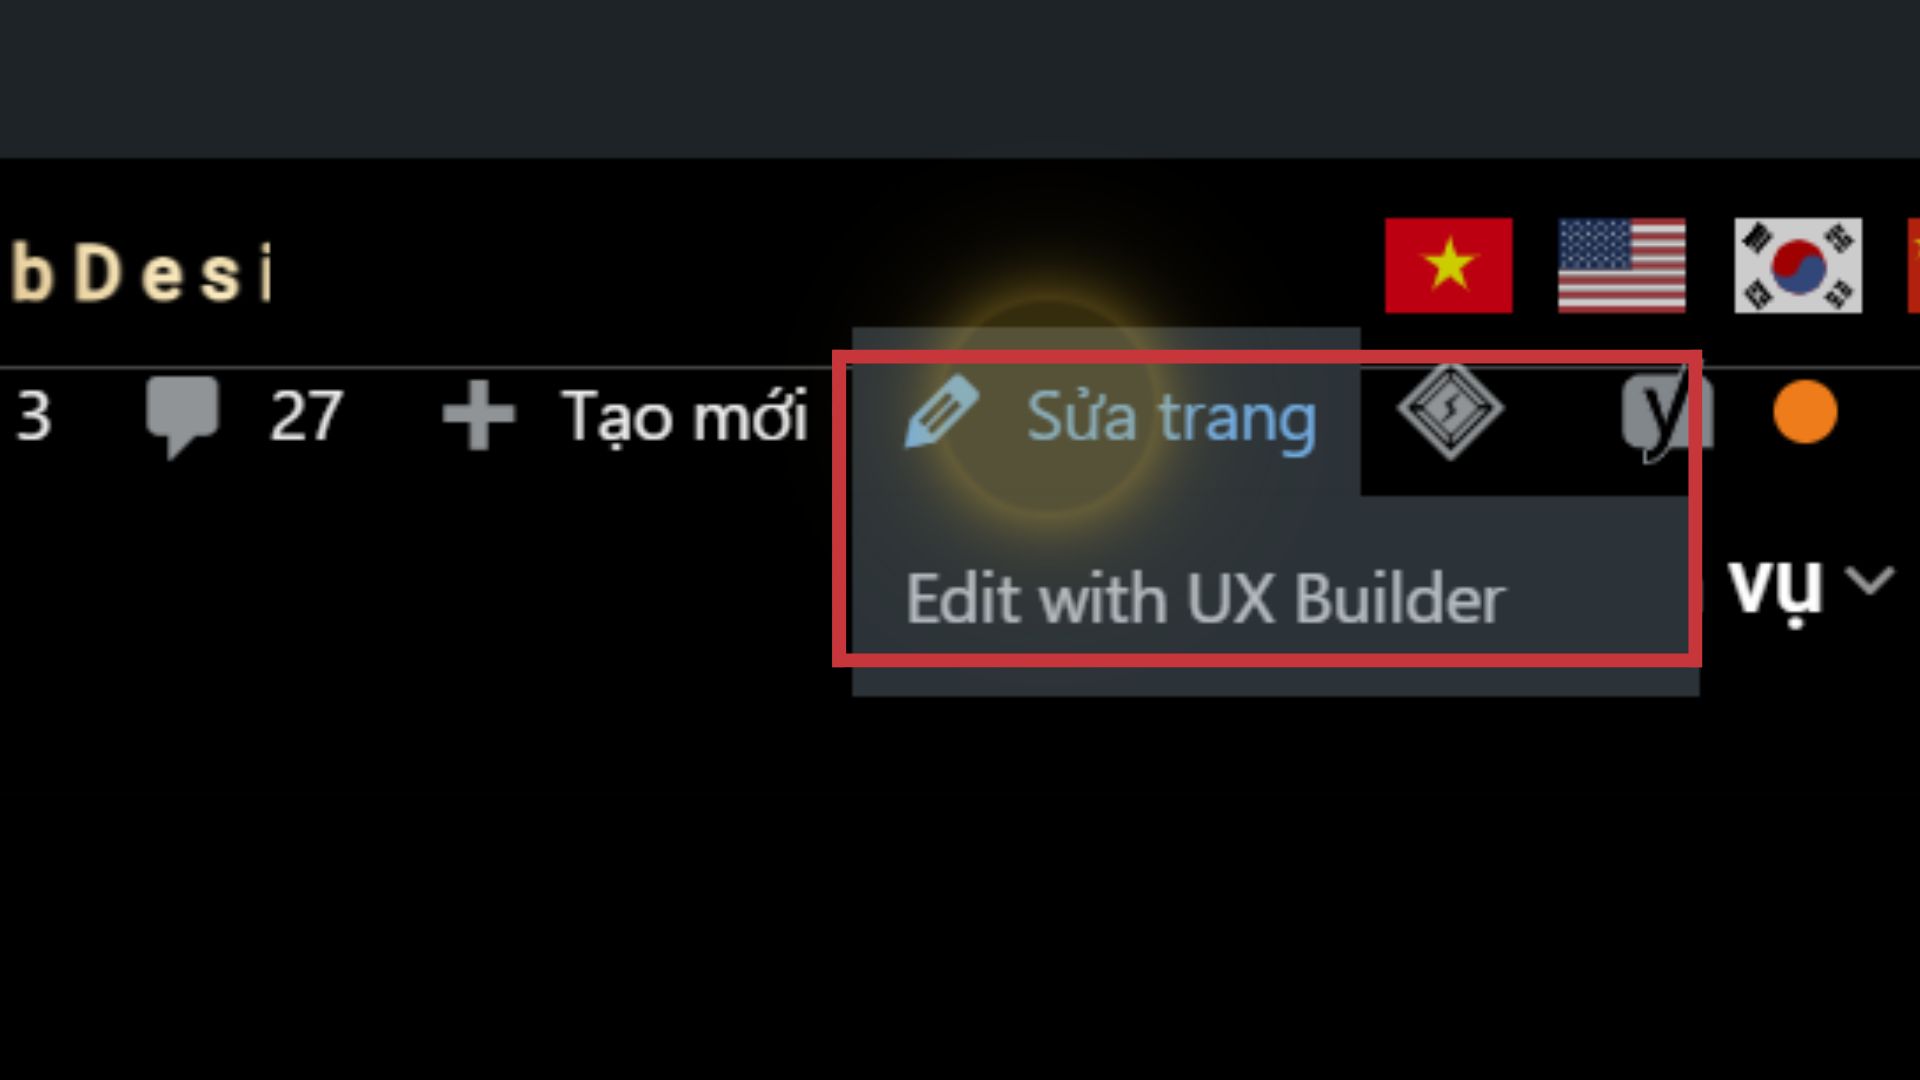
Step 2: After successfully logging in, you return to the website viewing interface (Frontend). At this time, at the top of the screen will appear a black toolbar is reserved for Admin (normal visitors will not see this bar).

Step 3: Scroll to the page you want to edit (Example: Home page or Service page).
Step 4: Hover over the item Edit Page on the selection toolbar UX Builder. Flatsome's intuitive editing interface will open.
3. Instructions for changing text content (Text/Text)
UX Builder interface lets you see changes instantly when editing. To edit a piece of text or title:
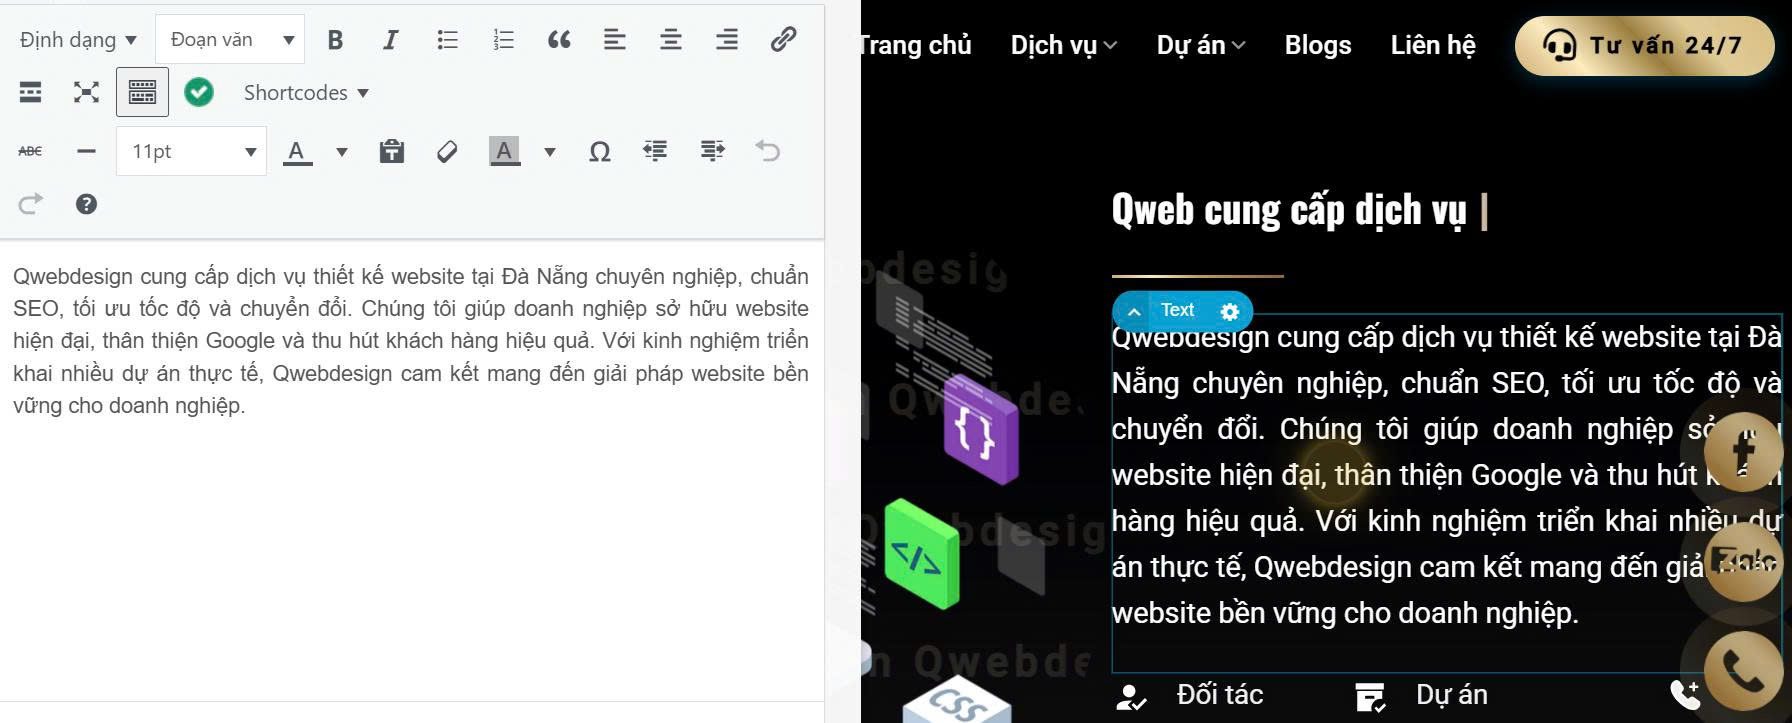
- Method 1 (Recommended for newbies): Double-click directly on the text you want to edit on the visual screen. A small text editing panel will appear. You just need to highlight and type in new content.
- Method 2 (Edit via the left toolbar): Click on that text once, look at the management column on the left. You can edit directly in the Text box here.
Tips to preserve the interface: For text containing strange characters or with price format (for example: 3,499,000 VND), be careful to type over the displayed numbers, avoid mistakenly deleting the accompanying hidden format code so that the website does not have font errors or lose formatting.
4. Instructions for changing images, Banners and Icons
Images and Banners are the core elements that create the beauty of the website. To change any image:
Step 1: Click on the image, banner or icon that needs to be replaced.
Step 2: Look at the management bar on the left, find the current image section and press the button Change Media (or select photo).
Step 3: You can choose photos available in the gallery Media or press Upload Files to select a photo from your computer.
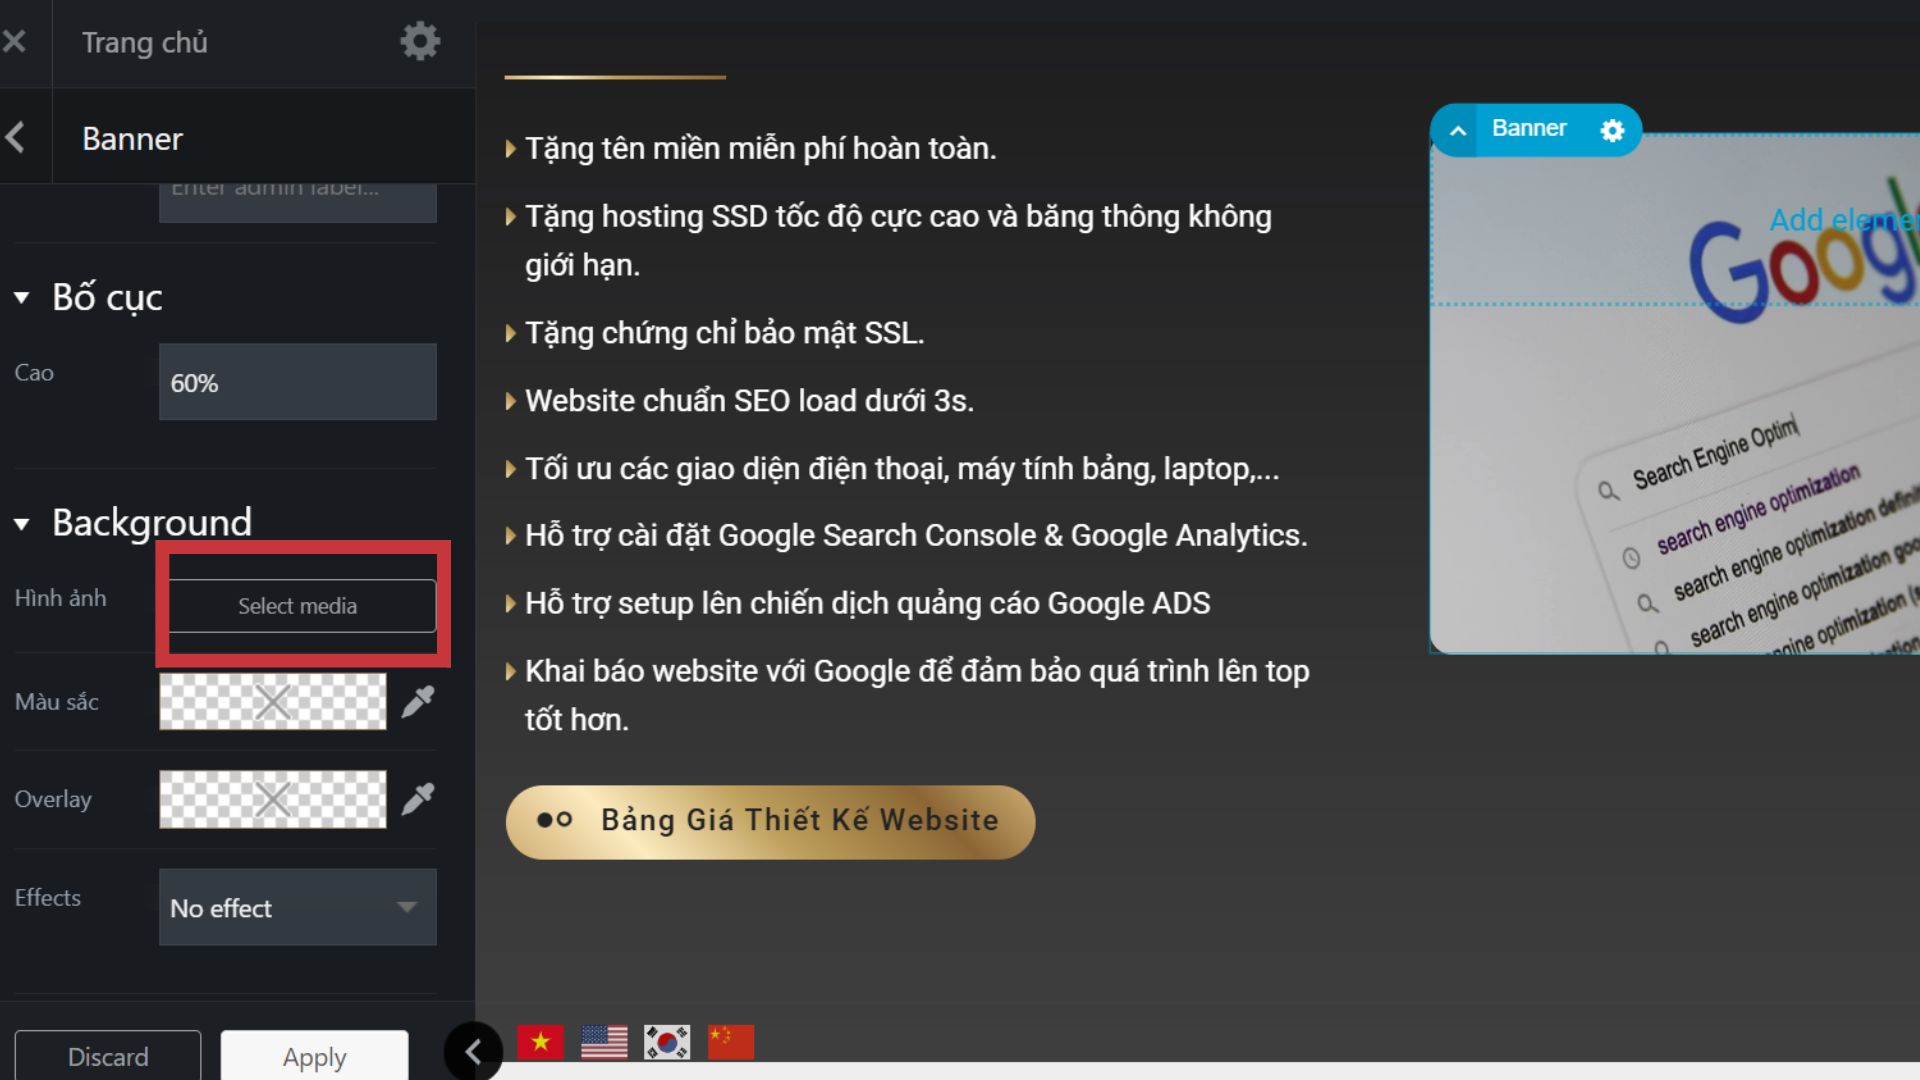
Step 4: Press the blue button Use this image in the bottom right corner to apply.
Note: You can enlarge/reduce the image size with the slider in the left column, but you should limit editing this section if the web design unit has already optimized the standard size for you.
5. How to insert links into images or banners
If you want customers to click on an image/banner and automatically redirect to another page (for example, clicking on a promotion banner jumps to the product page):
- Click on that image.
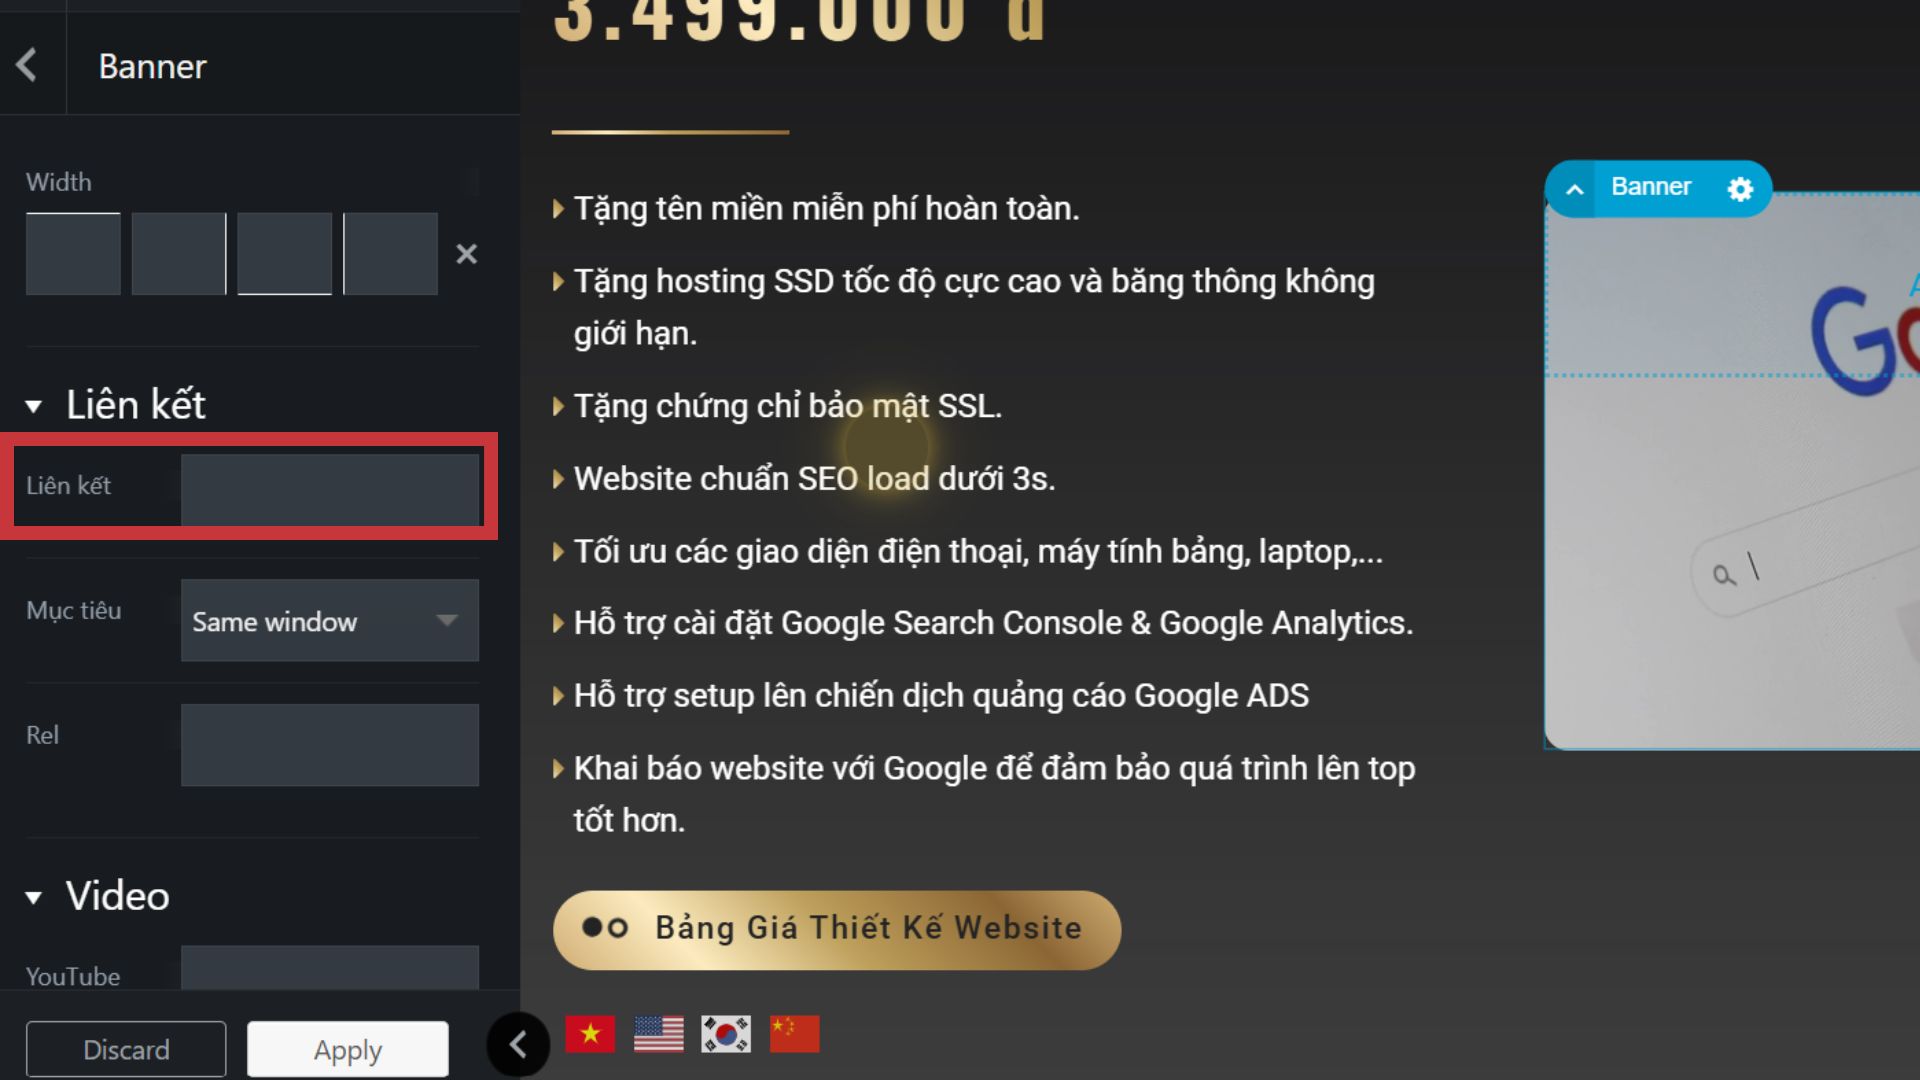
- Scroll the left-hand toolbar to the bottom, find the item Link (Link).
- Paste the entire URL of the destination page into this box (For example: https://namemien.com/trang-dich-vu).
- Target configuration:
- Same Window: The new page will load immediately on the current tab.
- New Window: The new page will open in a completely new tab (suitable when you want to keep customers staying on the old page).
6. Modify the Questions and Answers section (Accordion/FAQ)
For FAQ list content blocks (usually opens/closes on click):
- Click on the FAQ block on the screen.
- The left column will display a list of questions. Click to expand each item.
- Changed question title in section Title and enter the answer in the text inside.
7. Tips for handling errors: Don't panic if you accidentally delete it by mistake!
During the editing process, if you accidentally delete a block of content, skew the interface or click the wrong button, making the website look "cluttered", absolutely do not close the browser tab and calmly handle it by:
- Press the key combination Ctrl + Z on the keyboard.
- Every press Ctrl + Z, the system will go back 1 step of the previous operation. You can press multiple times (10 times, even 100 times) until the interface returns to its original beautiful state.
8. Save your results and optimize your website
After completing all edits and feeling satisfied:
- Press the button Apply is at the bottom of the left column.
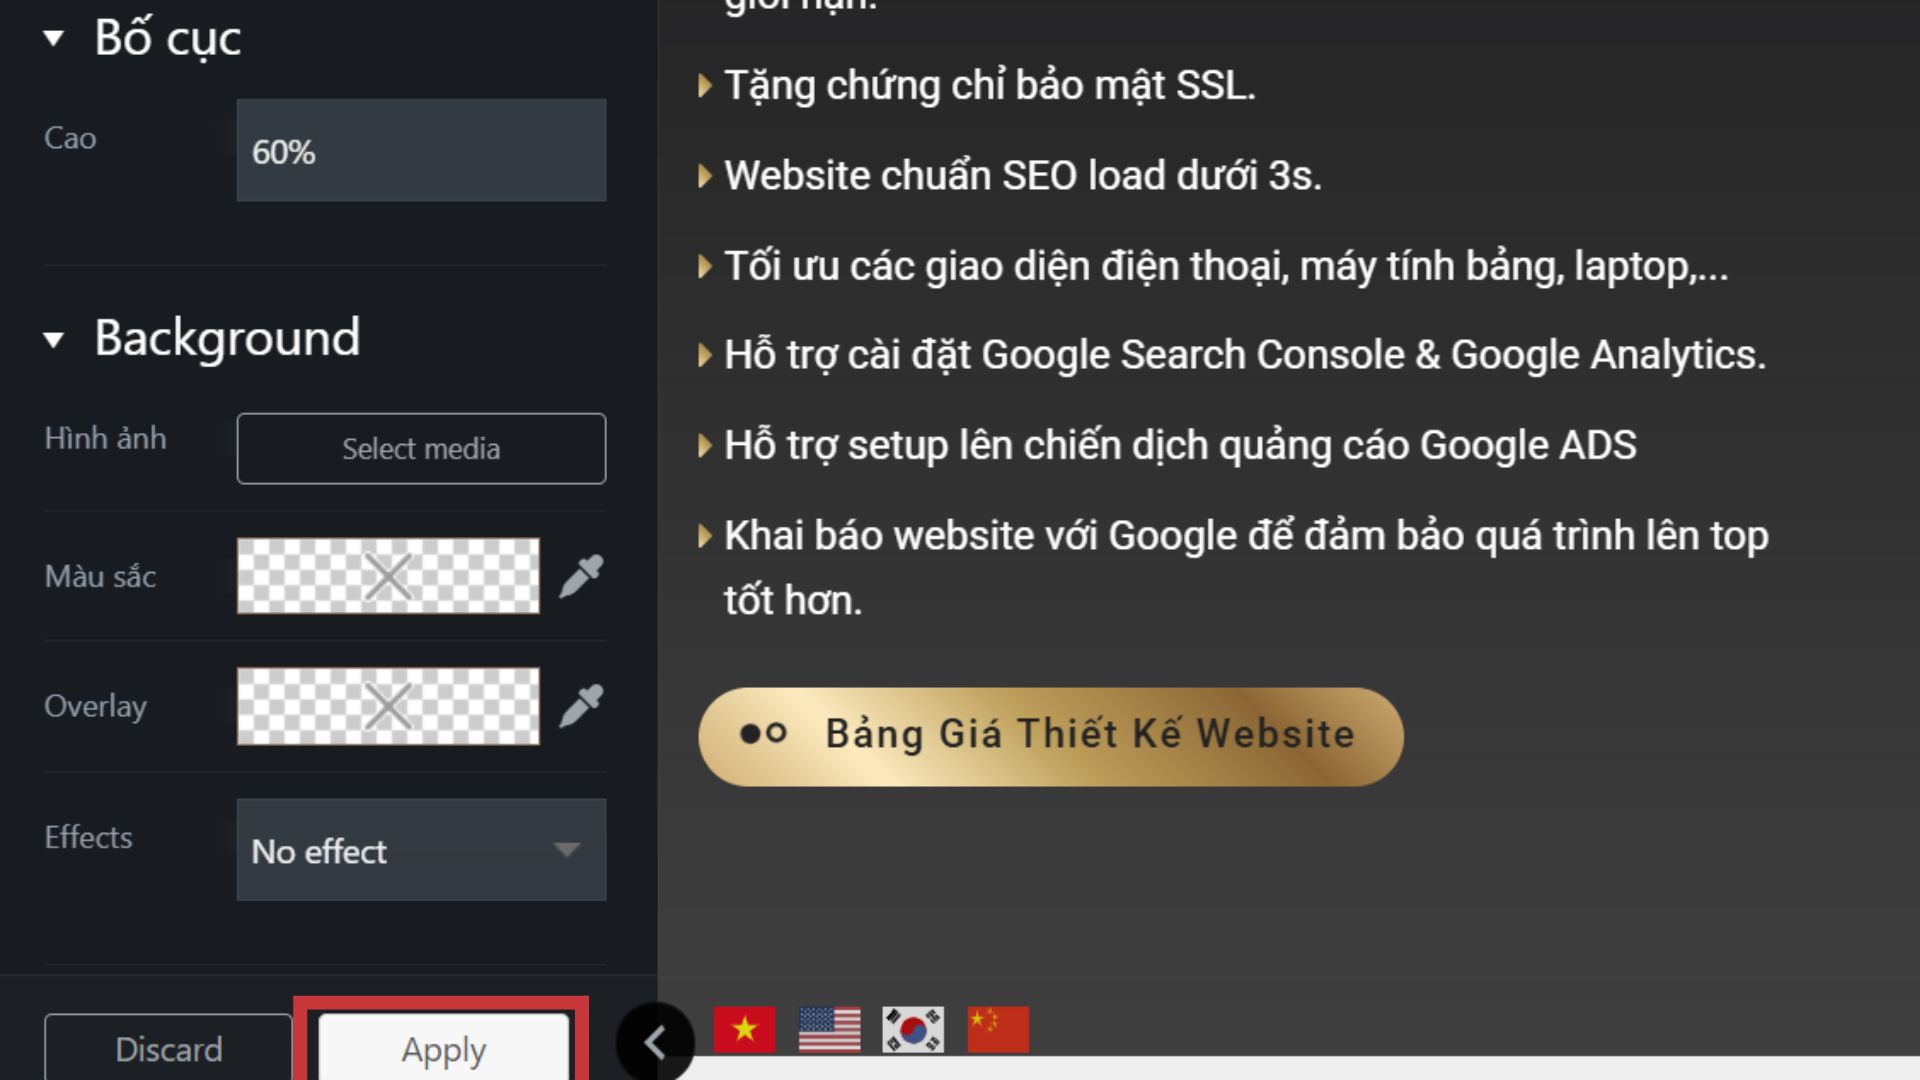
- Press the button Update (Blue) to officially apply changes to the website. You can now turn off the UX Builder interface.
Tips to speed up your website: About every 2 – 3 days, in the admin page, you should find the optimization tool (pre-installed on your toolbar) and click the button Image Optimization / Clear All Cache (Clear All Cache). This will help free up space and significantly increase page loading speed for customers.
If you like to change the admin workspace, you can click Sun/Moon symbol in the upper corner to flexibly switch between light (White mode) and dark (Dark mode) interface to reduce eye strain!
9. Watch Detailed Visual Instructions Video
If you are still confused or want to see each actual mouse click on the screen, take a few minutes to watch the extremely intuitive video tutorial below from the channel QWeb Design. The video will help you grasp operations from logging in, clicking on blocks, changing text, inserting images to how to "rescue" with the extremely easy-to-understand keyboard shortcut Ctrl+Z.
📺 Watch the video tutorial here: Instructions for changing content + images on website pages of the CMS Flatsome WordPress theme.
Wishing you success in mastering your Flatsome website! If you have difficulty during the implementation process, immediately contact a technician for support via UltraView or Google Meet.